Considering Painting Over Your Brick House?

Chelsey Smith • April 5, 2023

Are you considering painting over your brick house to give it a much-needed aesthetic update?

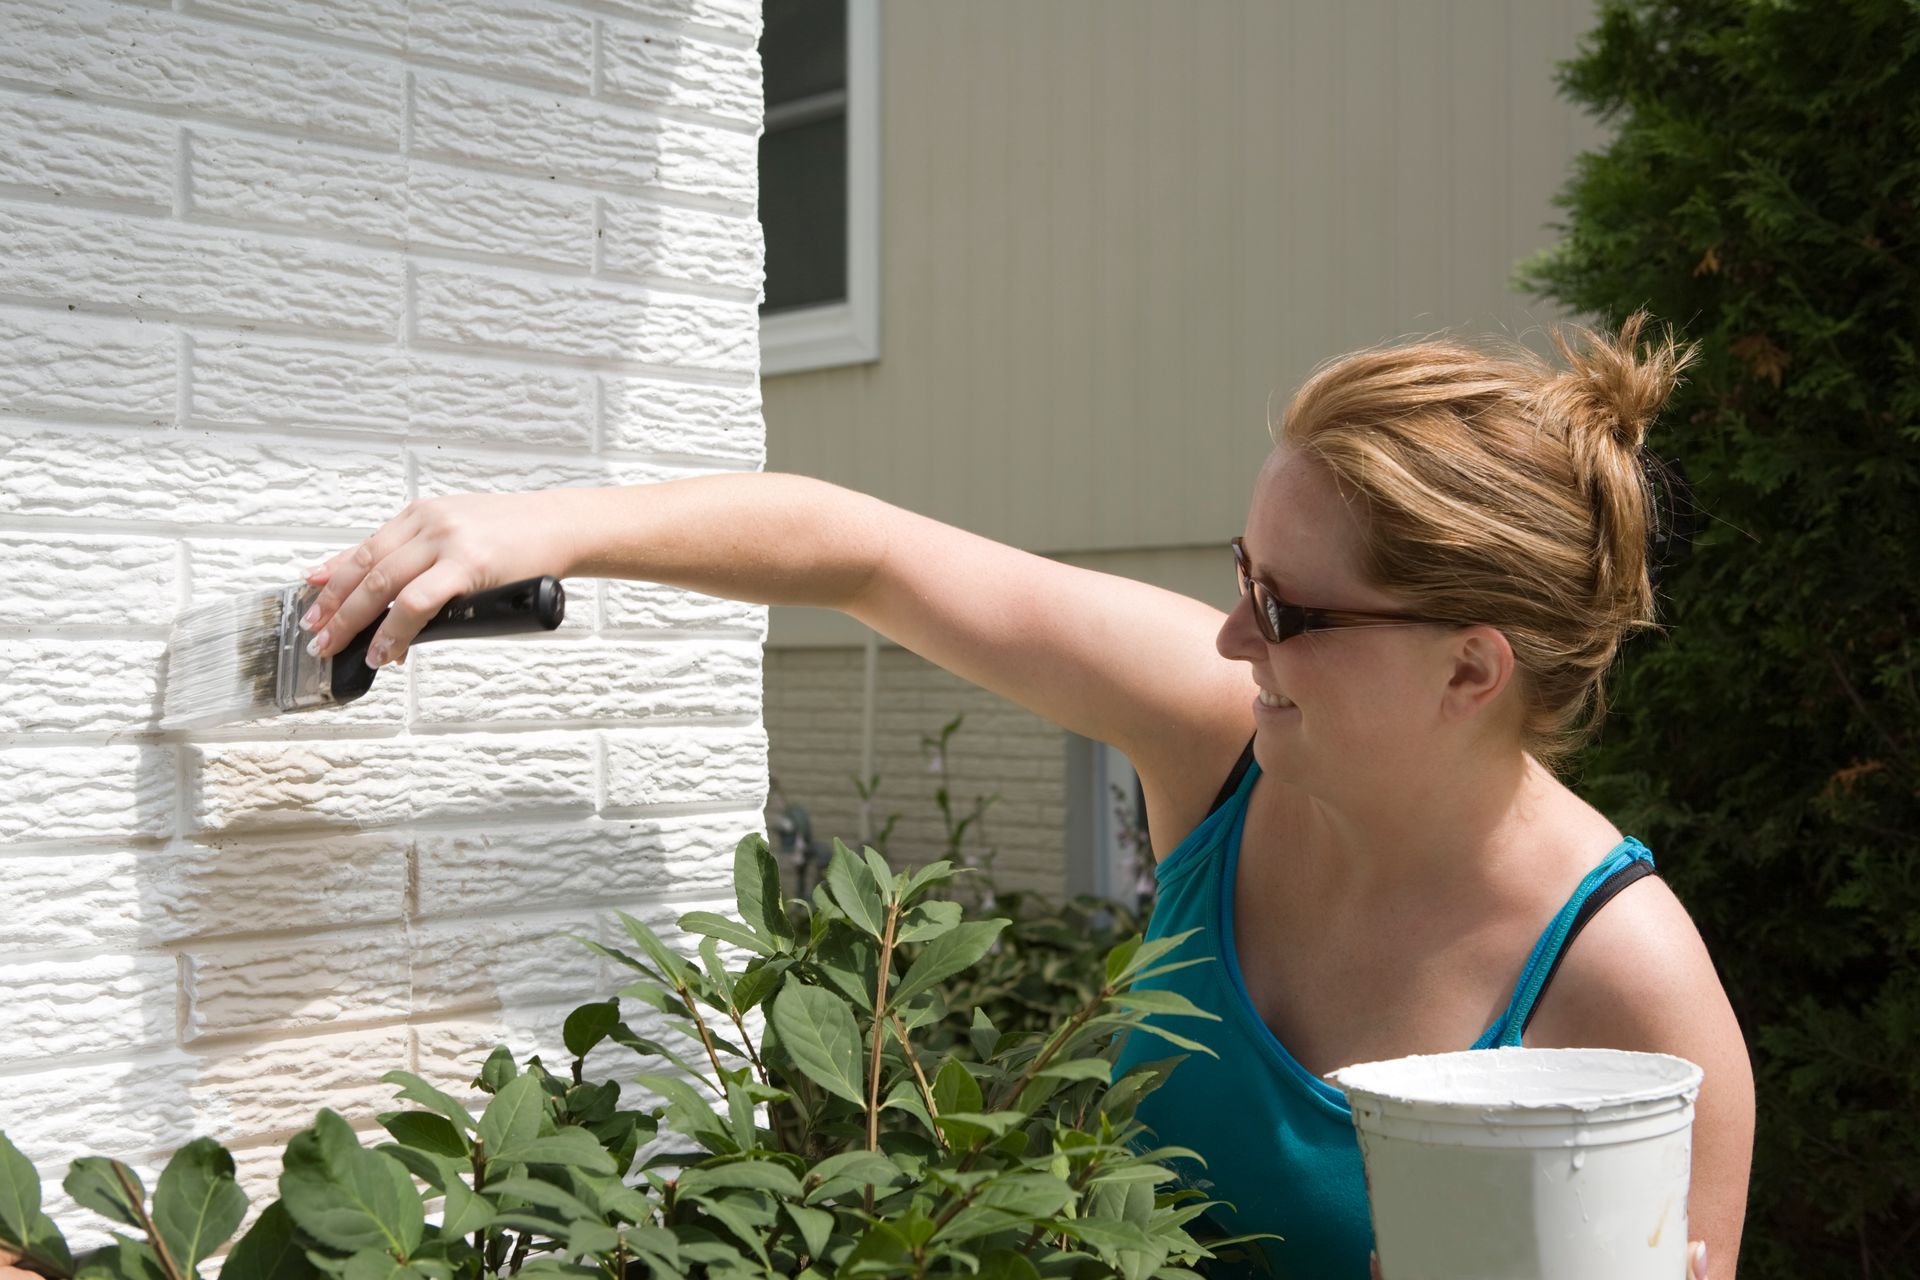
Are you considering painting over your brick house to give it a much-needed aesthetic update? If so, there’s more than meets the eye when it comes to this DIY task. From assessing the condition of your bricks, choosing paint colors, properly preparing and caring for your new look—it’s best to be in the know before starting off on such a big project! Let us provide you with all of the background information necessary as you consider taking on this exciting project.


Pros and Cons of Painting Over Brick

When it comes to painting over brick, there are both pros and cons to consider. On the one hand, painting can give an outdated or unsightly brick surface a fresh new look. It also provides an opportunity to incorporate different colors and textures into a space. However, it’s important to keep in mind that painting over brick can be a labor-intensive process, and the paint may not adhere properly if the brick is in poor condition or has been previously painted. Additionally, some homeowners prefer the natural look and texture of exposed brick, and painting over it may detract from its unique character. Ultimately, the decision to paint over brick should be carefully weighed and considered based on individual preferences and the condition of the surface.


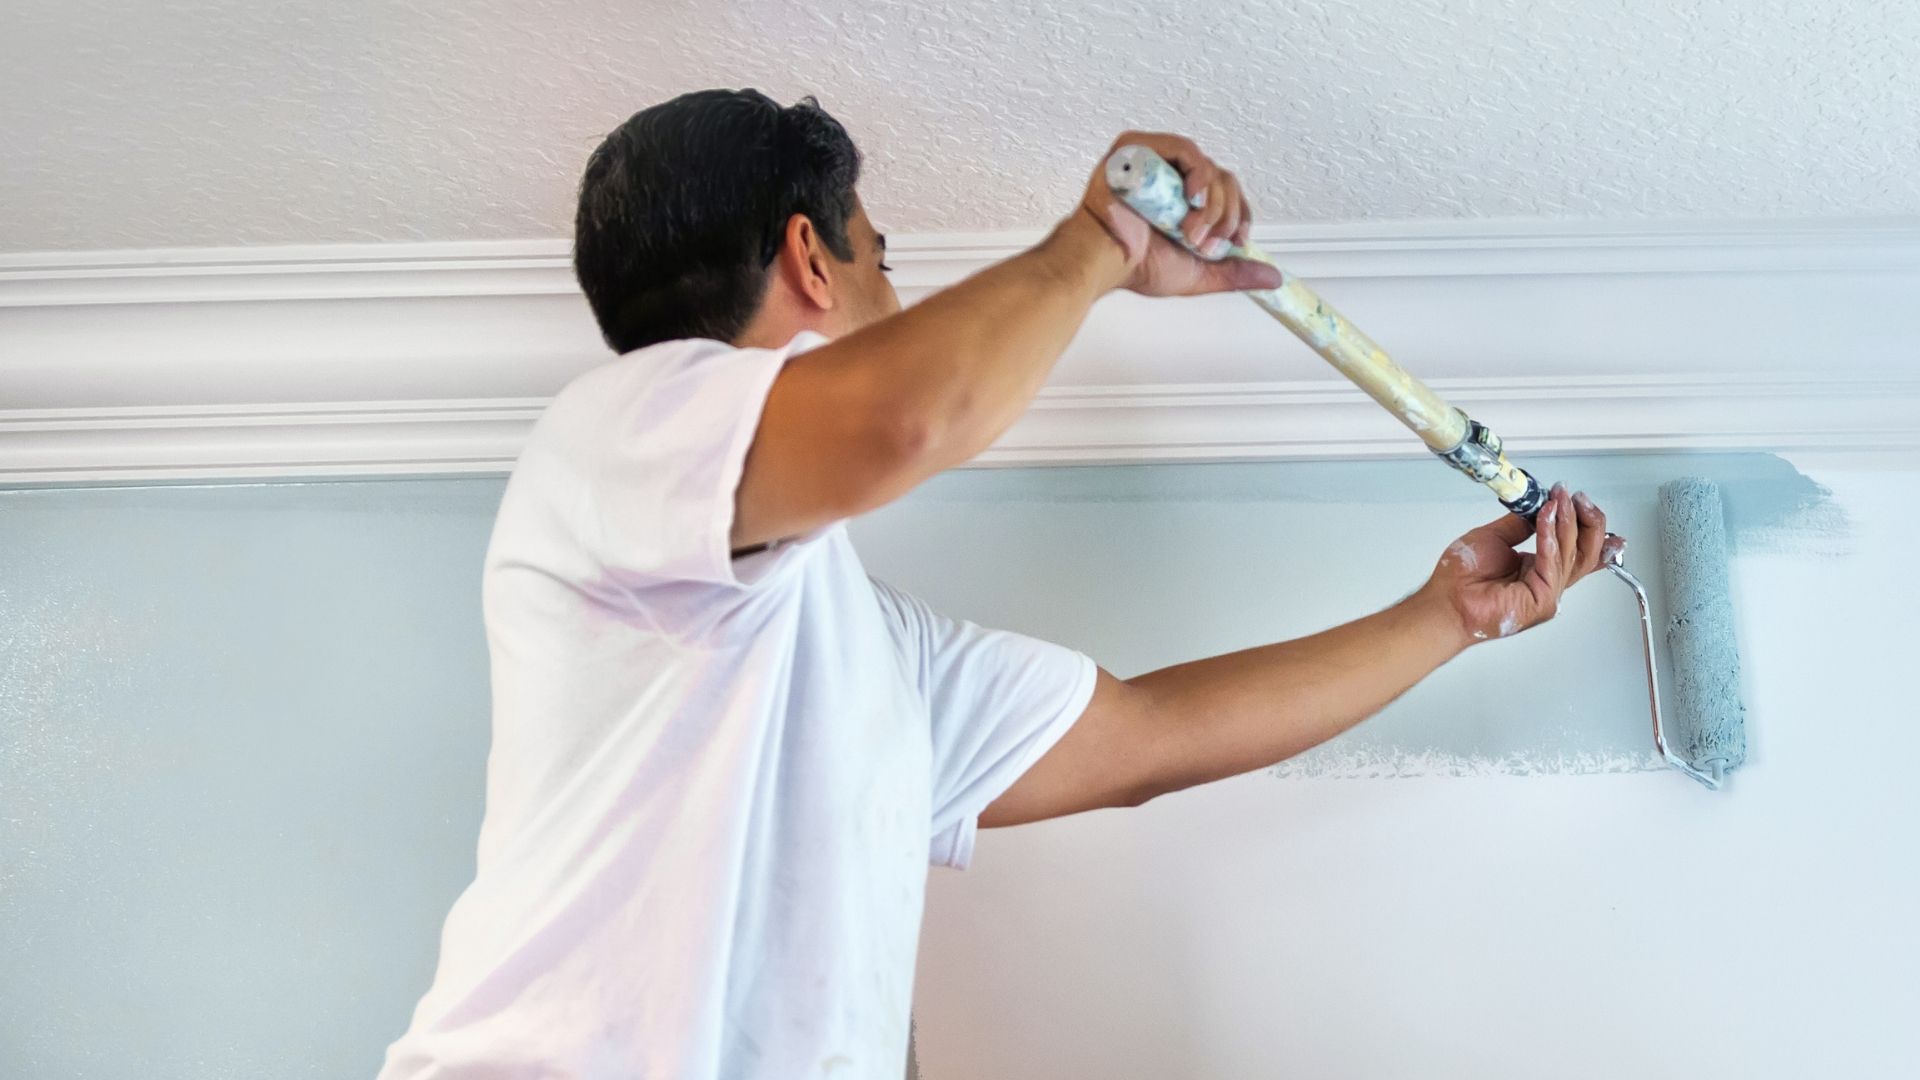
The Prep Work Needed Before Painting Over Brick

Before diving headfirst into painting over brick, it's crucial to do some prep work to ensure the best possible outcome. Firstly, make sure the surface is clean and free of any dirt, grime or mold. Use a wire brush or sandpaper to remove any loose or flaking paint or mortar. Then, inspect the brick for any cracks or damage and repair as necessary. If you're painting interior brick, consider adding a sealant to prevent any moisture or dust from seeping through. And finally, choose the right type of paint for the job - acrylic latex is a great option for porous surfaces like brick. Taking these steps before painting may be time-consuming, but it will ultimately result in a much smoother and longer-lasting finish.


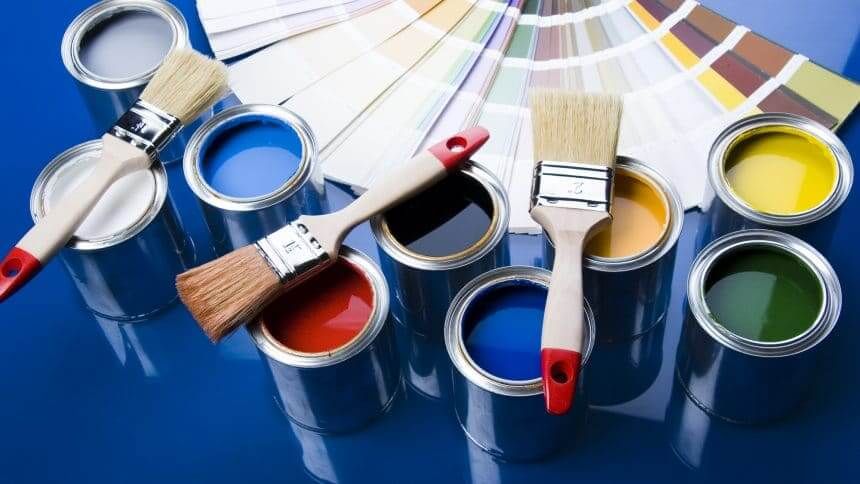
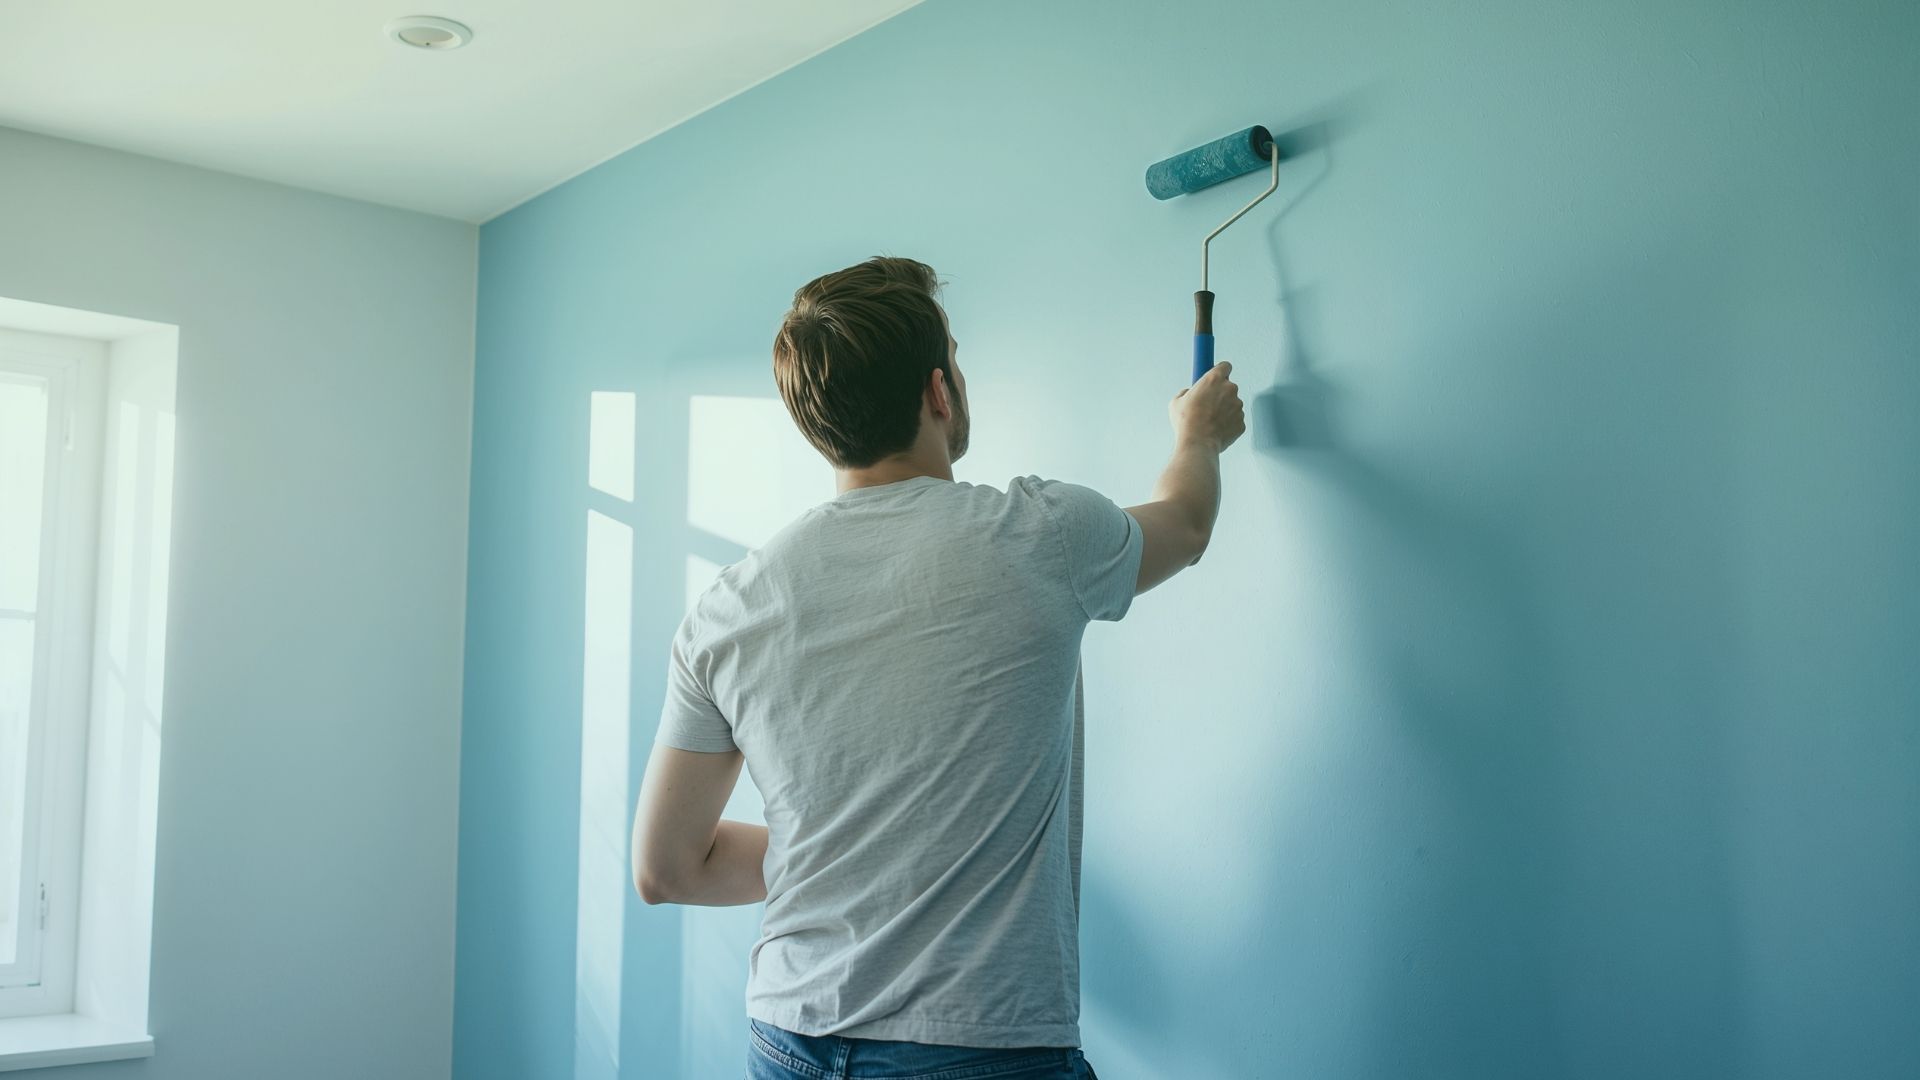
Choosing the Right Paint for Your Project

Choosing the right paint for your project can seem overwhelming with all the different types and finishes available. It's important to consider the surface you will be painting, as well as the environment it will be in. For example, if you're painting a bathroom or kitchen, a semi-gloss or high-gloss finish may be best to resist moisture and make the surface easier to clean. On the other hand, a flat or matte finish may be more suitable for a living room or bedroom to create a softer, more relaxed atmosphere. It's also important to consider the quality of the paint and whether it will hold up over time. By taking these factors into account, you can choose the right paint for your project and achieve a beautiful, long-lasting finish.


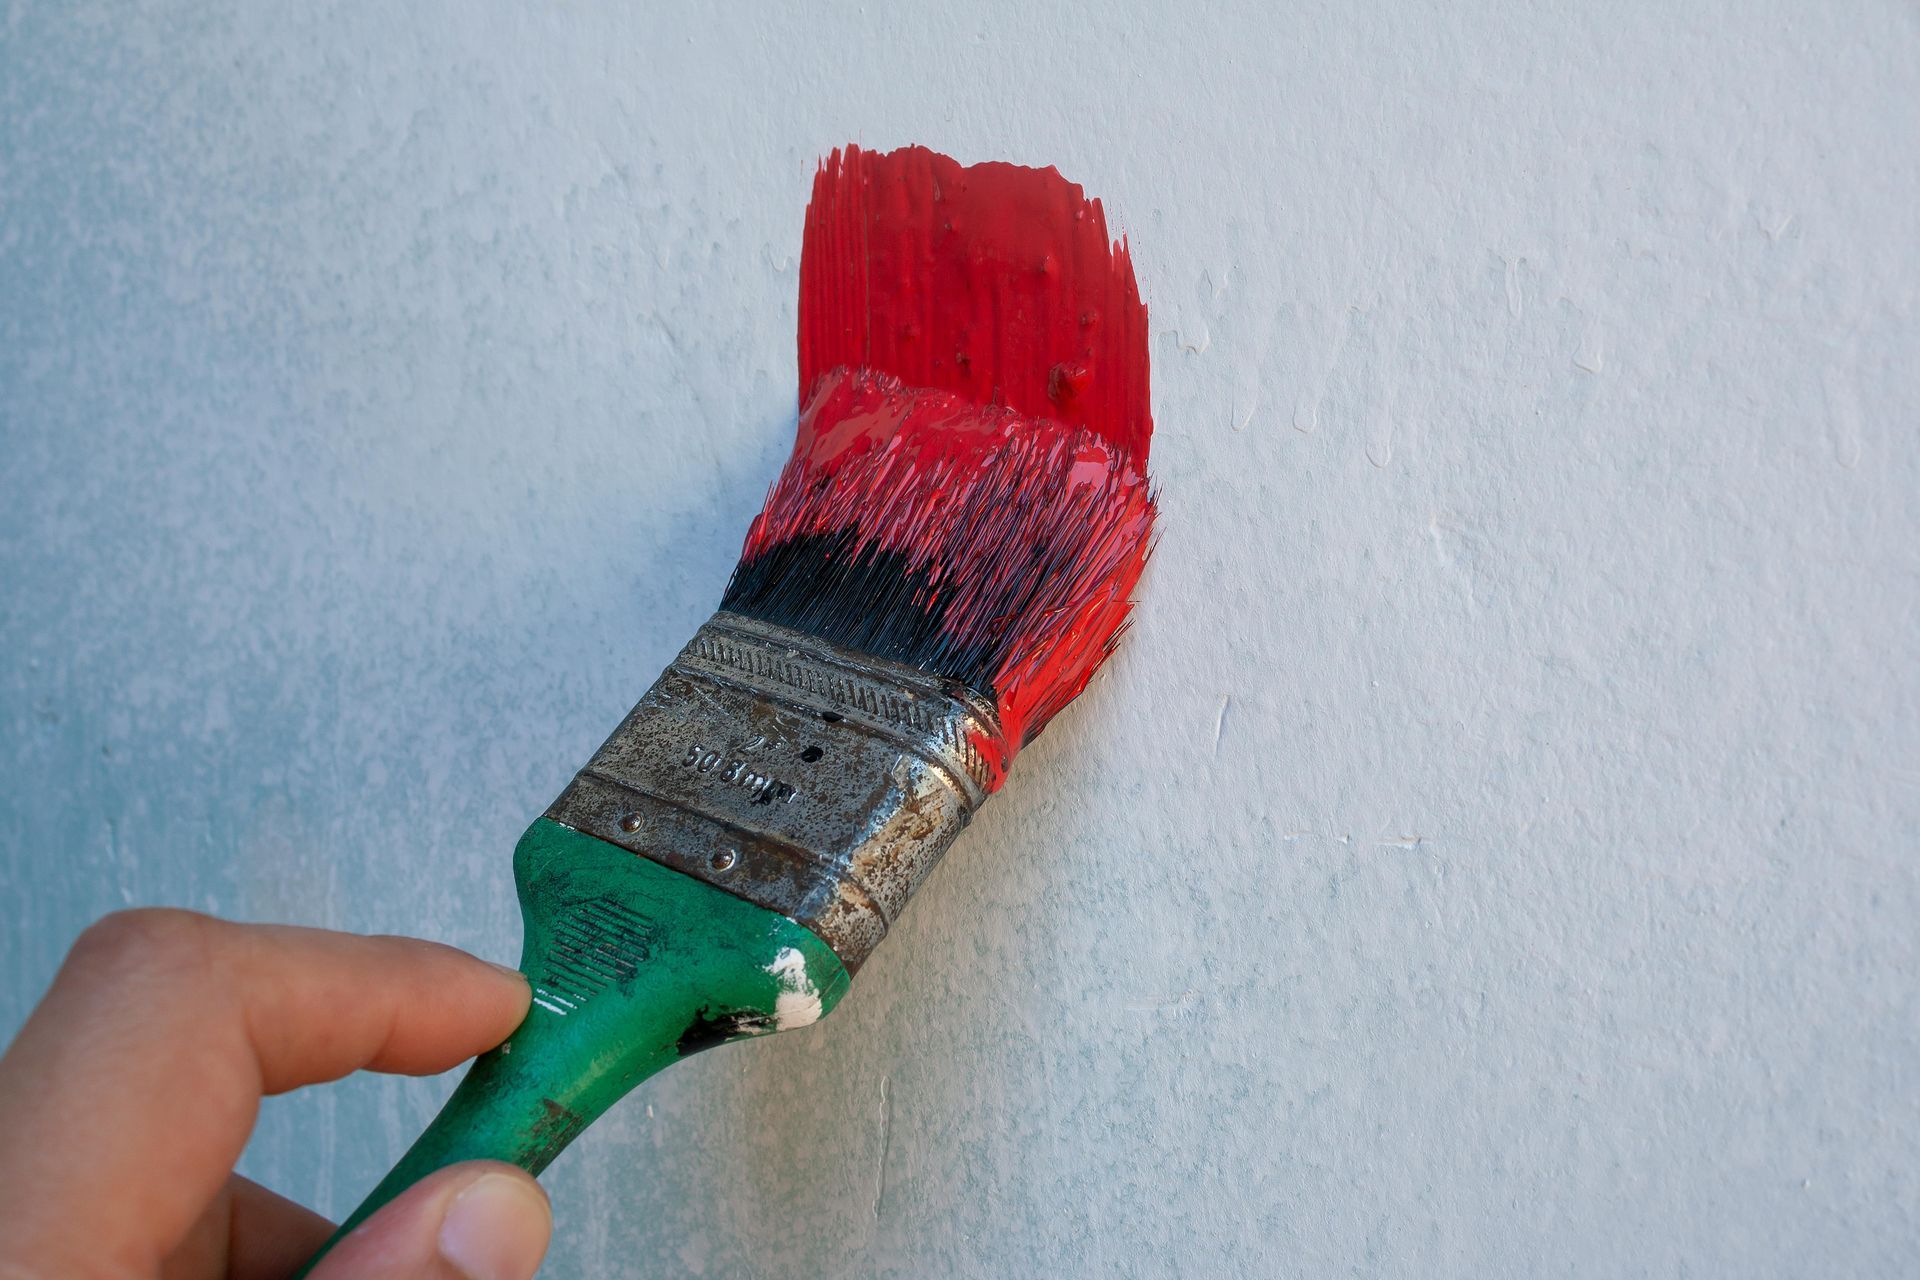
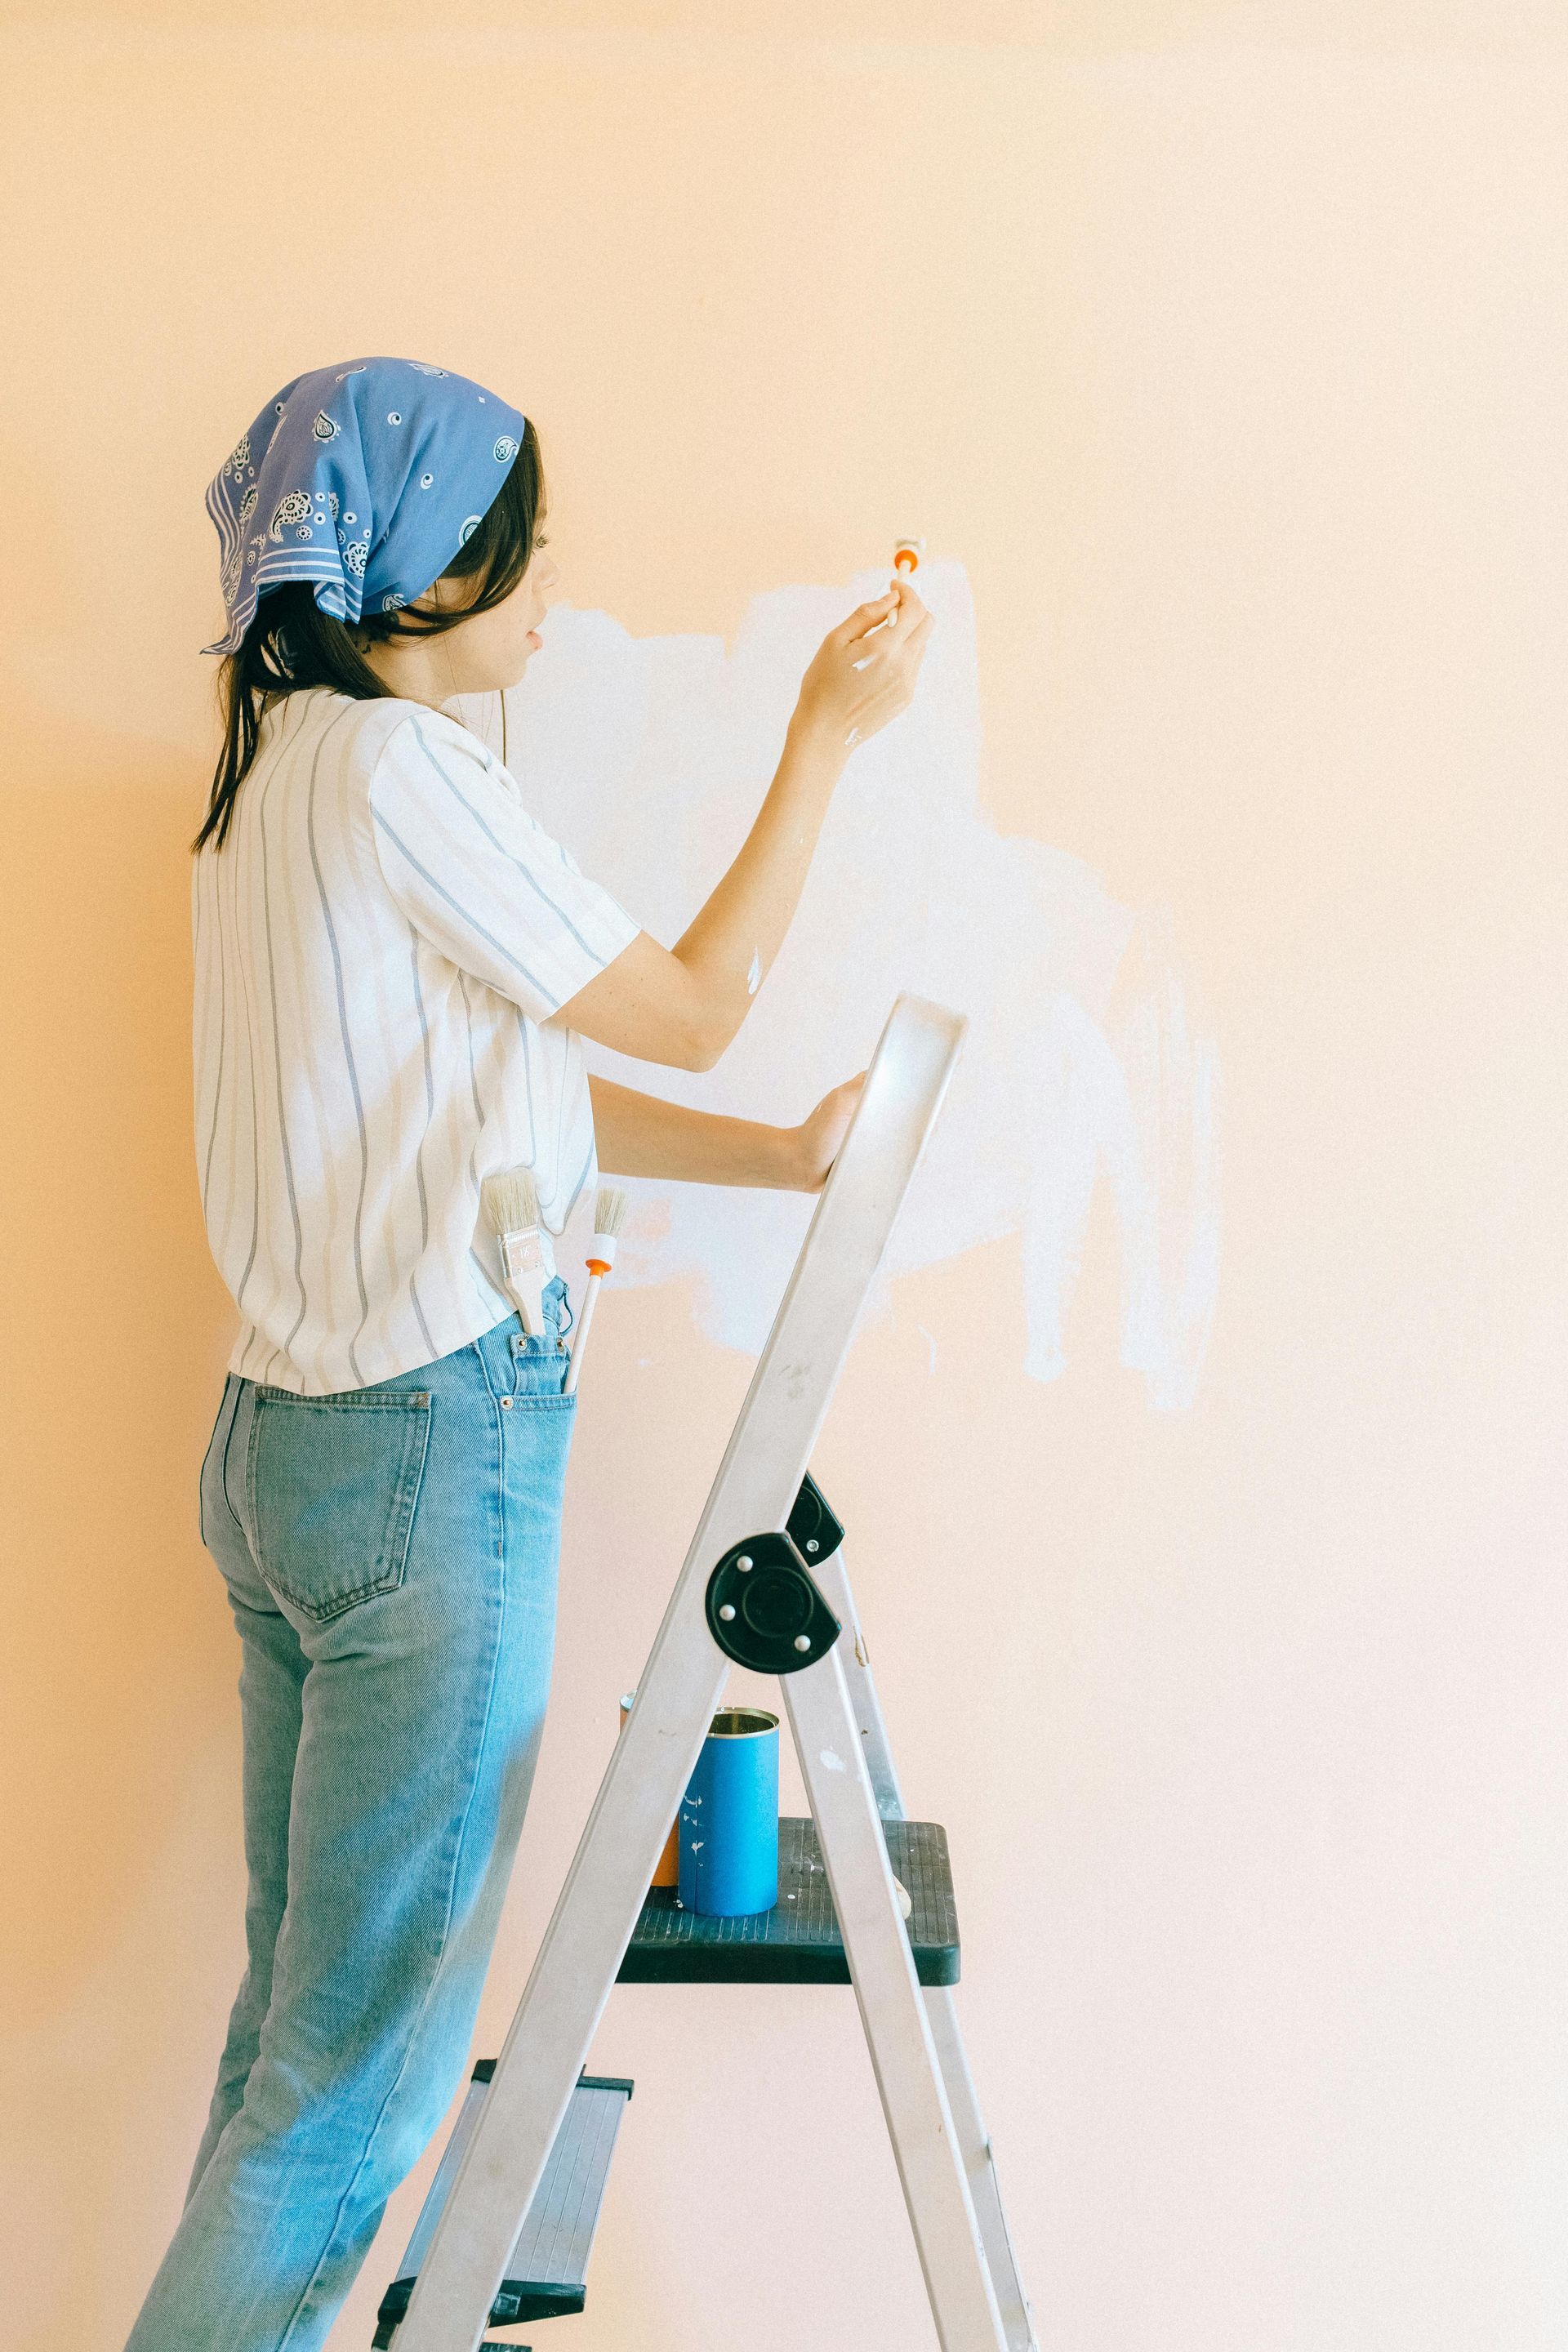
Creating Your Own Design with Paint

Do you have a vision for your space that you just can't seem to find anywhere else? Why not create your own design with paint? Choosing the right paint tone can make all the difference in bringing your unique vision to life. Whether you're going for a bold statement wall or a cozy and inviting feel, the possibilities are endless. Start by considering the mood you want to create in your space and then experiment with different paint swatches and finishes until you find the perfect combination. Don't be afraid to get creative and let your personality shine through in your design. With a little patience and a lot of imagination, you'll have a space that's truly one-of-a-kind.


How to Deal With Moisture Issues When Painting Over Brick

When it comes to painting over brick, moisture issues can be a real headache. You may have noticed that bricks are porous, which means they can absorb moisture from the air or the ground. This can lead to water damage or even structural issues if left unchecked. Fortunately, there are ways to deal with moisture issues when painting over brick. First and foremost, it's important to make sure the surface is completely dry before you start painting. You may also want to use a waterproof primer or sealer to help keep moisture out. Additionally, make sure that any drainage issues around the brick are addressed to prevent water from pooling and causing damage. By taking these steps, you can ensure a long-lasting and beautiful paint job on your brick surface.


Tips for Keeping Your Painted Brick Looking Its Best

Painted brick can be a stunning addition to any home's exterior, but it does require some upkeep to ensure it stays looking its best. One of the most important things you can do is to regularly clean it to remove dirt and debris that can accumulate over time. Avoid using harsh chemicals or tools that could damage the brick or the paint. Additionally, it's important to inspect the brick for any signs of damage or wear and tear, such as cracks or peeling paint, and address those issues as soon as possible to prevent further damage. By taking these simple steps, you can ensure that your painted brick retains its beauty and adds value to your home for years to come.


Painting over a brick house is not an easy task. It takes a lot of prep work, the right materials and design ideas to get the job done right. Thankfully, knowing the pros and cons of painting over your brick house, understanding what
prep work needs to be done first and choosing the proper paint for your project are all essential components of this venture. 


But it doesn’t end there – knowing how to deal with moisture issues is just as important. Finally, maintaining your painted brick’s appearance is key for getting the most out of your efforts. If you have worked hard to successfully paint your brick home and need help in keeping it looking its best, don't hesitate - call
Peninsula Painting today! For all of your painting needs they are committed to delivering quality craftsmanship that meets or exceeds each customer's expectations.


October 29, 2025
Tired of staring at the same four walls? A burst of color can completely transform a room, breathing new life into your space without needing a full-scale renovation. Whether you’re looking for a subtle change or a dramatic overhaul, adding color is a powerful way to refresh your home's personality. We'll explore three effective ways to do this: through accessories, wallpaper, and of course, paint. 1. Start Small: The Power of Accessories If you're hesitant to commit to a bold wall color, accessories are your best friend. They offer a low-risk, high-reward way to experiment with different shades and see what you love. This approach is perfect for renters or anyone who enjoys changing their decor with the seasons. Weave in Colourful Textiles Textiles are one of the easiest ways to introduce color. Think about adding: ● Throw Pillows and Blankets: Drape a vibrant throw over your neutral sofa or add a few jewel- toned pillows. These can be easily swapped out to change the mood of the room instantly. ● Rugs: An area rug can anchor a room and define a space with color and pattern. A bold rug can serve as the centerpiece, with other colors in the room complementing it. ● Curtains: Window treatments frame your view of the outside world, so why not make them interesting? Colorful curtains can filter light beautifully and add a soft, elegant touch of colour. Display Colourful Decor Look around your room for surfaces that could use a pop of personality. Bookshelves, coffee tables, and mantels are prime real estate for colourful objects. ● Vases and Planters: A bright ceramic vase—with or without flowers—can be a simple yet effective accent. Grouping several vases of different shapes and shades can create a compelling focal point. ● Artwork: A large piece of art can introduce a whole palette of colors. You can pull shades from the artwork to use in other accessories throughout the room, creating a cohesive look. ● Books: Don't underestimate the power of book spines. Arranging books by color on a shelf can create a stunning rainbow effect that is both personal and stylish. 2. Make a Statement with Wallpaper Wallpaper has made a major comeback, and modern designs are more beautiful and easier to apply than ever. It's a fantastic way to add pattern, texture, and a complex color story to your space. Choose Your Feature Wall You don’t need to paper an entire room to make an impact. An accent wall, also known as a feature wall, is often all you need. ● Behind the Bed: In a bedroom, the wall behind the headboard is a classic choice for a feature wall. It creates a focal point and adds a sense of luxury. ● In the Entryway: Welcome guests with a stunning first impression. A vibrant wallpaper in the foyer sets a creative tone for the rest of your home. ● Unexpected Places: Think outside the box. Wallpaper the back of a bookshelf, the ceiling, or a small powder room for a delightful and unexpected design moment. Selecting the Right Pattern The scale of the pattern should match the scale of your room. ● Large-Scale Patterns: Bold, large patterns work best in bigger rooms, where they have space to breathe. In a smaller room, they can feel overwhelming. ● Small-Scale Patterns: Delicate, smaller prints can add texture and interest without overpowering a small space. They are great for creating a cozy, intimate feel. Don't be afraid to mix patterns, but try to stick to a consistent colour palette to keep the look cohesive. If your wallpaper is busy, keep other patterns in the room more subdued. 3. Transform with Paint Paint is the most versatile and impactful tool for changing a room. The right color can alter your perception of space, influence your mood, and tie all your decor elements together. Beyond Four Walls of the Same Colour While a fresh coat of a single colour is always effective, think about more creative applications. ● The Accent Wall: This is a popular technique for a reason. Painting one wall a different, bolder colour adds depth and draws attention to a specific area of the room. It’s a great way to highlight a fireplace or a beautiful piece of furniture. ● Painted Ceilings: Often called the "fifth wall," the ceiling is a frequently overlooked surface. A soft blue can evoke the sky, while a dark, dramatic color in a room with high ceilings can create a cozy, intimate atmosphere. ● Color Blocking: Use painter's tape to create sharp, geometric shapes on your walls. You can create arches, circles, or diagonal blocks of color for a modern, graphic look. This is a great way to define a small nook or create the illusion of architectural details. Choosing the Perfect Shade Color psychology is real. Warm colors like red, orange, and yellow can make a room feel energetic and inviting. Cool colors like blue, green, and purple tend to have a calming, serene effect. Before you commit, always test paint samples on your wall. Colors can look different depending on the light in your room at various times of day. Let the Professionals Handle the Painting While adding accessories and even some wallpaper can be fun DIY projects, painting requires skill and precision for a truly professional finish. A flawless paint job sets the foundation for your entire design. At Peninsula Painting, we understand the power of colour. Our team of experienced professionals can help you achieve the look you’ve been dreaming of. We handle all the prep work, from patching holes to protecting your furniture, ensuring clean lines and a durable finish. Whether it’s a single accent wall or a complex color-blocking design, we have the expertise to bring your vision to life perfectly. Ready to transform your space with a splash of coloru? Contact Peninsula Painting today for a consultation, and let’s start planning your room’s beautiful new look.
September 30, 2025
Giving your kitchen a fresh, new look doesn't always require a full-scale renovation. If you're wondering whether your existing kitchen cupboards can be painted, the answer is a resounding yes. Painting your cupboards is a cost-effective and transformative way to update your space. With the right preparation and materials, you can achieve a durable, beautiful finish that completely revitalizes your kitchen. This guide will walk you through everything you need to know, from prepping your surfaces to choosing the best paint. We'll cover the essential steps to ensure a professional-quality result that lasts. Why Paint Your Kitchen Cupboards? Painting is a popular choice for homeowners looking to refresh their kitchen without the expense and hassle of a complete tear-out. It allows you to customize the color and style of your kitchen, whether you're aiming for a modern, classic, or eclectic look. A fresh coat of paint can instantly brighten a dark kitchen, make a small space feel larger, and increase your home's overall appeal. The Importance of Proper Preparation The key to a flawless and long-lasting paint job lies in the preparation. Skipping these crucial steps can lead to peeling, chipping, and an uneven finish. Proper prep ensures that the paint adheres correctly to the surface, creating a smooth and durable coating that can withstand the daily wear and tear of a busy kitchen. Step 1: Clean the Surfaces Thoroughly Kitchen cupboards accumulate grease, oil, and grime that can prevent paint from sticking. Before you do anything else, you must clean every surface meticulously. Use a degreasing cleaner specifically designed for kitchens. A solution of warm water and trisodium phosphate (TSP) or a specialized cabinet cleaner works well. Apply the cleaner with a sponge or cloth, scrubbing gently to remove all residue. Pay special attention to areas around the handles and stove, as these tend to be the grimiest. After cleaning, wipe the cupboards down with a clean, damp cloth to remove any leftover cleaning solution and let them dry completely. Step 2: Remove Doors, Drawers, and Hardware For the best results, you need to work on a flat surface. Unscrew all the doors from their hinges and remove all drawers from the cabinets. Take off all handles, knobs, and other hardware. Place these small pieces in labeled bags so you know exactly where everything goes when it's time to reassemble. This step prevents drips and ensures you can paint every nook and cranny without obstruction. Step 3: Sand for a Smooth Foundation Sanding is a critical step that creates a slightly roughened surface for the primer and paint to grip onto. If you skip sanding, your new paint job is more likely to peel or scratch off easily. Use a medium-grit sandpaper (around 120-grit) to scuff up the existing finish. You don't need to remove the old paint or varnish completely; you just need to degloss the surface. For flat areas, a sanding block or orbital sander will speed up the process. For detailed or curved areas, hand sanding is best. After sanding, wipe away all the dust with a tack cloth or a microfiber cloth dampened with mineral spirits. Step 4: Prime for Adhesion and Durability Primer is the bridge between the old surface and the new paint. It blocks stains, ensures even color, and provides a superior bond for the topcoat. Using a high-quality primer is essential for kitchen cupboards. Choose a stain-blocking, adhesion-promoting primer. Apply a thin, even coat to all surfaces—doors, drawer fronts, and cabinet frames. A small roller works well for flat surfaces, while a brush is better for detailed areas. Allow the primer to dry completely according to the manufacturer's instructions, which may take several hours. For an extra-smooth finish, you can lightly sand the primed surface with fine-grit sandpaper (220-grit) and wipe it clean before painting . Choosing the Right Paint Kitchen cupboards face a lot of use, so you need a paint that is tough, durable, and easy to clean. Look for paints specifically formulated for cabinets, trim, or high-traffic areas. Types of Paint to Consider ● Acrylic Enamel Paint: This is a popular choice for cabinets. High-quality water-based acrylic enamels are low-odor, dry quickly, and clean up easily with soap and water. They cure to a hard, durable finish that resists stains and scrubbing. ● Oil-Based Enamel Paint: Traditionally known for their extreme durability and smooth finish, oil-based paints are still an option. However, they have a strong odor, take longer to dry, and require mineral spirits for cleanup. ● Cabinet and Trim Paint: Many paint brands now offer specialized paints designed just for cabinets and trim. These are often self-leveling, which helps minimize brush marks, and cure to a very hard, factory-like finish. No matter which type you choose, opt for a satin or semi-gloss sheen. These finishes are easier to wipe clean than matte or eggshell sheens, which is a significant advantage in a kitchen environment. Ready for a Flawless Finish? Painting kitchen cupboards is a rewarding project, but it requires patience, precision, and a lot of detailed work. From thorough cleaning and sanding to careful priming and painting, every step is crucial for achieving a finish that looks great and stands the test of time. If you want a guaranteed professional result without the time and effort, consider hiring experts. The team at Peninsula Painting specializes in cabinet painting and can help you achieve a flawless, durable finish. We use high-quality materials and proven techniques to transform your kitchen cupboards, giving your space the beautiful update it deserves. Contact us today to learn how we can help with your kitchen project.
Man painting a white wall outdoors, wearing a red tank top, gray shorts, and black shoes.
By Daniel Zeng August 12, 2025
When is it Too Hot to Paint the Exterior of Your Home?
A woman is standing on a ladder in front of a red wall.
By Robbie Balla July 22, 2025
Choose the Right Paint for Every Room in Your Home
A man is painting a window with a brush.
By Robbie Balla June 28, 2025
Choose the Perfect Exterior Paint Color for Your Home
A living room with a couch , chair , table and paintings on the wall.
By Robbie Balla May 20, 2025
How Paint Colour Can Transform a Room
A woman is sitting on a porch painting a window.
By Robbie Balla April 22, 2025
Is Spring a Good Time to Paint the Exterior of My Home?
A bedroom with a bed , nightstand , candles and slippers.
By Sara DeSantis March 18, 2025
The Best Bedroom Colors for Restful Sleep
A living room with a white couch and a wooden table.
By Thao N February 27, 2025
Calming Interior Paint Colours to Transform Your Space
A man is standing on a ladder painting a wall.
By Sara DeSantis January 17, 2025
Choosing the right paint colours for your home can be an exciting and transformative process. Whether you're a homeowner looking to refresh your space, a DIY enthusiast seeking inspiration, or an interior designer crafting the perfect palette for a client, the right paint colours play a crucial role in setting the mood and style of any room. To help you with this creative challenge, we've compiled a room-by-room guide filled with inspiring ideas from professionals like Peninsula Painting in Hamilton.
Show More